How Do I Add Certificates to the Trusted Root Certification Authorities Store for a Local Computer?
Note: You must have Administrator privileges to complete this process. If you are not the administrator of your device, please contact your system administrator.
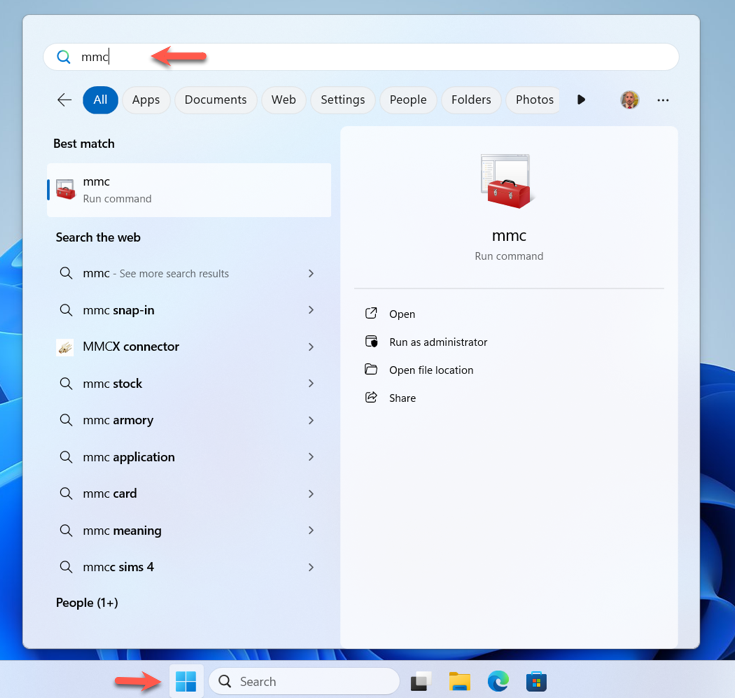
Step 1: Open MMC
Click the Start button, type mmc in the search bar, and press Enter.
Step 2: Accept the UAC Prompt
If prompted by User Account Control (UAC), click Yes to allow changes. This grants admin access needed to proceed.
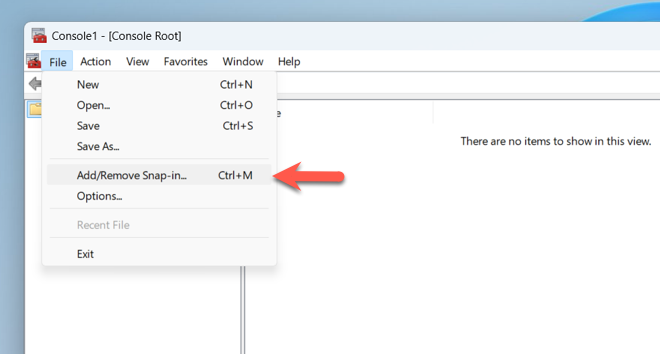
Step 3: Add Snap-In
In the Microsoft Management Console, go to the File menu and select Add/Remove Snap-in....
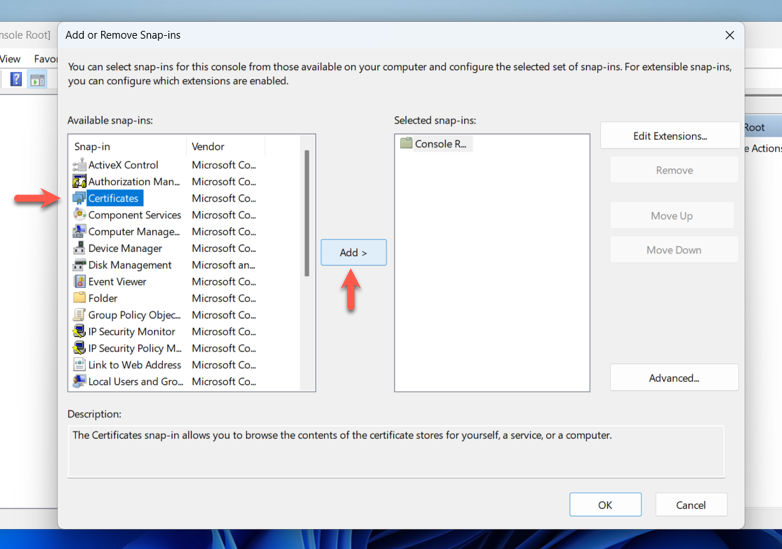
Step 4: Select "Certificates"
Under Available snap-ins, select Certificates and click Add.
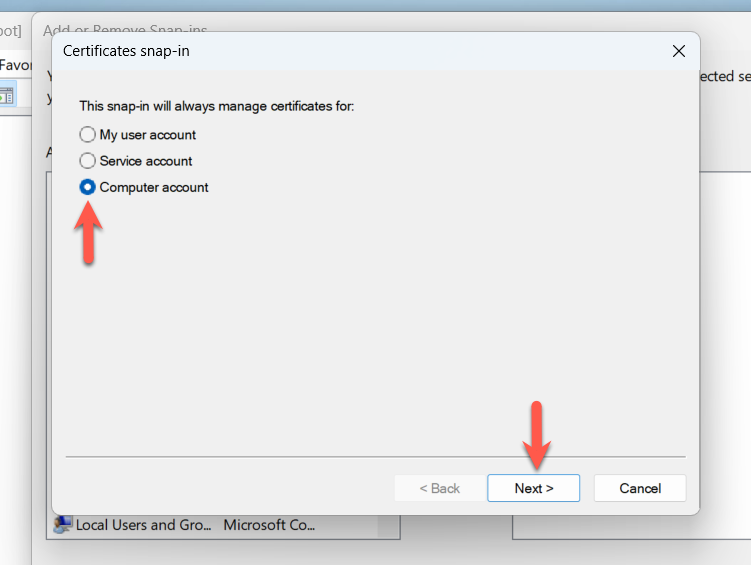
Step 5: Choose "Computer Account"
When prompted, select Computer account and click Next.
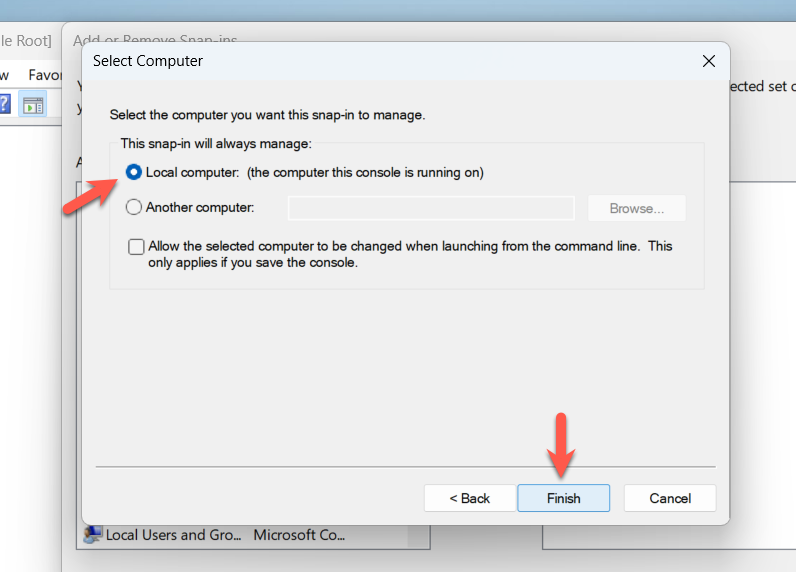
Step 6: Select Local Computer
In the next screen, choose Local computer, then click Finish.
Step 7: Confirm Snap-In Addition
If no other snap-ins are needed, click OK to return to the console.
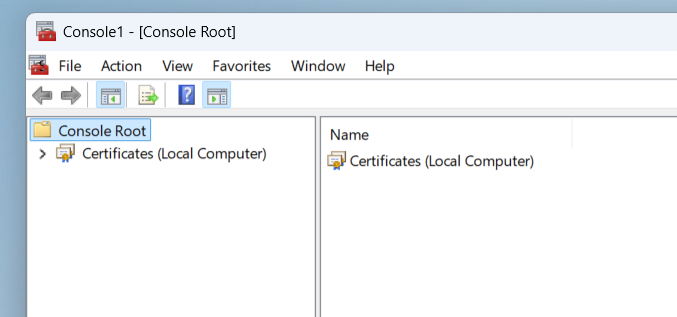
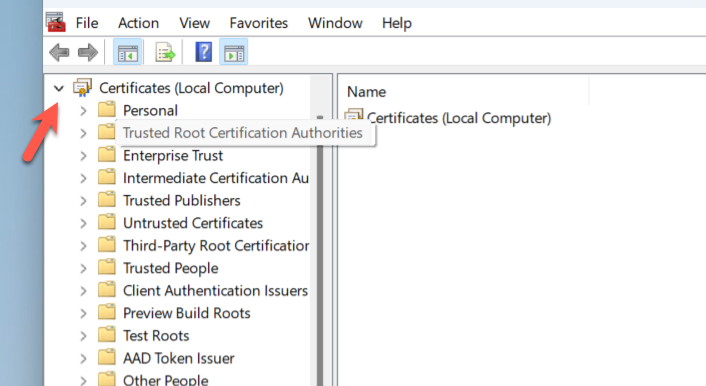
Step 8: Expand Certificates Tree
In the left pane, expand Certificates (Local Computer) by clicking the arrow next to it.
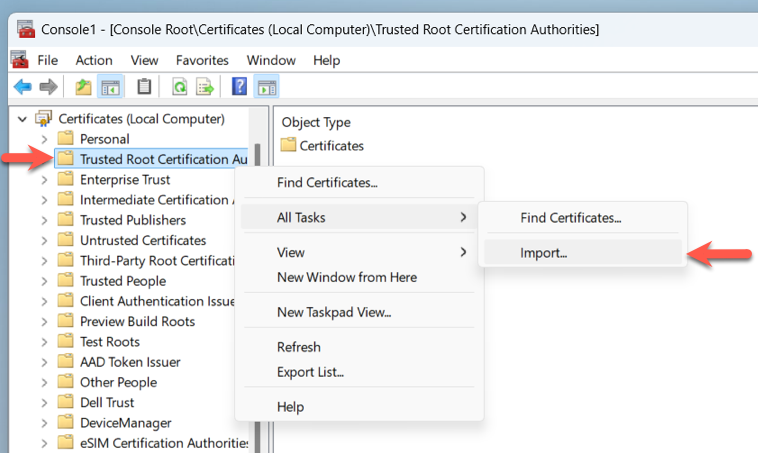
Step 9: Begin Certificate Import
Right-click the Trusted Root Certification Authorities folder, hover over All Tasks, then select Import.
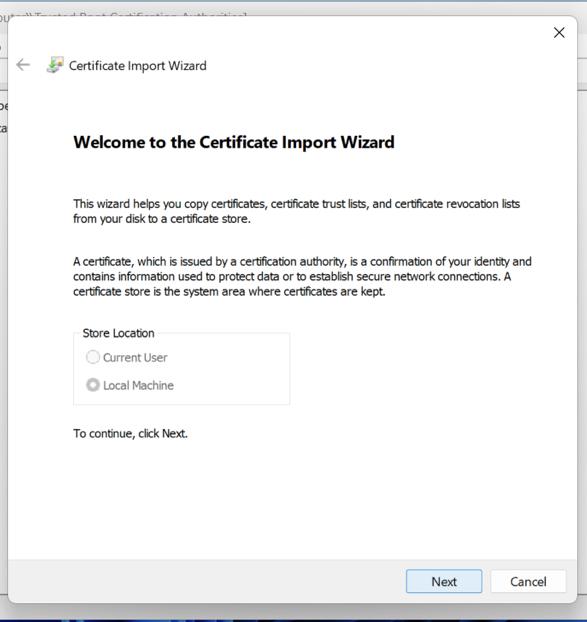
Step 10: Complete Import Wizard
Follow the Certificate Import Wizard prompts to browse and import your certificate file.
Need Help?
- Use 24/7 Live Chat via your My ASU Service Center
- Create a support case
- Call the ASU Experience Center: 855-278-5080
